I recently got myself an SO-101 arm by LeRobot from the company ThinkRobotics. The original cost of all the parts is about $170 (or INR 16000) but the kit from Think Robotics costs $300 or INR 28000. I don’t have a 3D printer of my own so I paid the extra $130 for convenience hoping that the hobbyist kit supplier will make my life extra easy. While a few things were easier, i.e., I didn’t have to find a 3D printing vendor and the separate motors, I was let down by a few other things. I decided to document my experience alongside what I’ve learned from designing and shipping robotics kits in the past.
The package
I received two boxes from the ThinkRobotics team:
- One contained all the plastic pieces.
- The other contained all the electronics (the motors, the chargers).
Where all did the experience break down?
When I was opening the boxes, I expected the parts to be labelled and an instruction manual to be present in the box. This wasn’t the case. And this led to my first gotcha moment.
Gotcha 1: The identical looking motors that go at different locations
The box had 12 motors. 6 for the leader arm and 6 for the follower arm. I looked at the motors and they were as follows.
| Suffix | Count |
|---|---|
| STS3215-C018 | 6 |
| STS3215-C001 | 1 |
| STS3215-C044 | 2 |
| STS3215-C046 | 3 |
I had no idea where any of these motors go. I had to figure out what the voltage was on each motor, what the gear ratio was, and especially where each motor was supposed to go. This is the table I had to make for myself.
| Suffix | Count | Voltage | Gear ratio | Stall torque | Used in |
|---|---|---|---|---|---|
| STS3215-C018 | 6 | 12V | 1/345 | 30 kg·cm | Gripper (all 6 joints) |
| STS3215-C001 | 1 | 7.4V | 1/345 | 19.5 kg·cm | Teacher J2 (shoulder_lift) |
| STS3215-C044 | 2 | 7.4V | 1/191 | 27.4 kg·cm | Teacher J1 (shoulder_pan), J3 (elbow_flex) |
| STS3215-C046 | 3 | 7.4V | 1/147 | 14.4 kg·cm | Teacher J4 (wrist_flex), J5 (wrist_roll), J6 (gripper) |
Gotcha 2: The gaps you’re supposed to slot things in… are too small
When I tried to insert the first motor into the base of the follower arm, it got stuck halfway. Neither will it go in nor will it come out by reasonable means. It was stuck in this position:
My learnings from building Soft Robotics Toolkit
I designed and developed a soft robotics toolkit during my time at Harvard Biodesign Lab. This was a completely self-contained product that students and educators with no prior experience of DIY toolkits could use to make Soft Robotic Grippers. In order to make this friendly for students of all ages, we worked with over 200 students who tested the kits with and without our supervision.
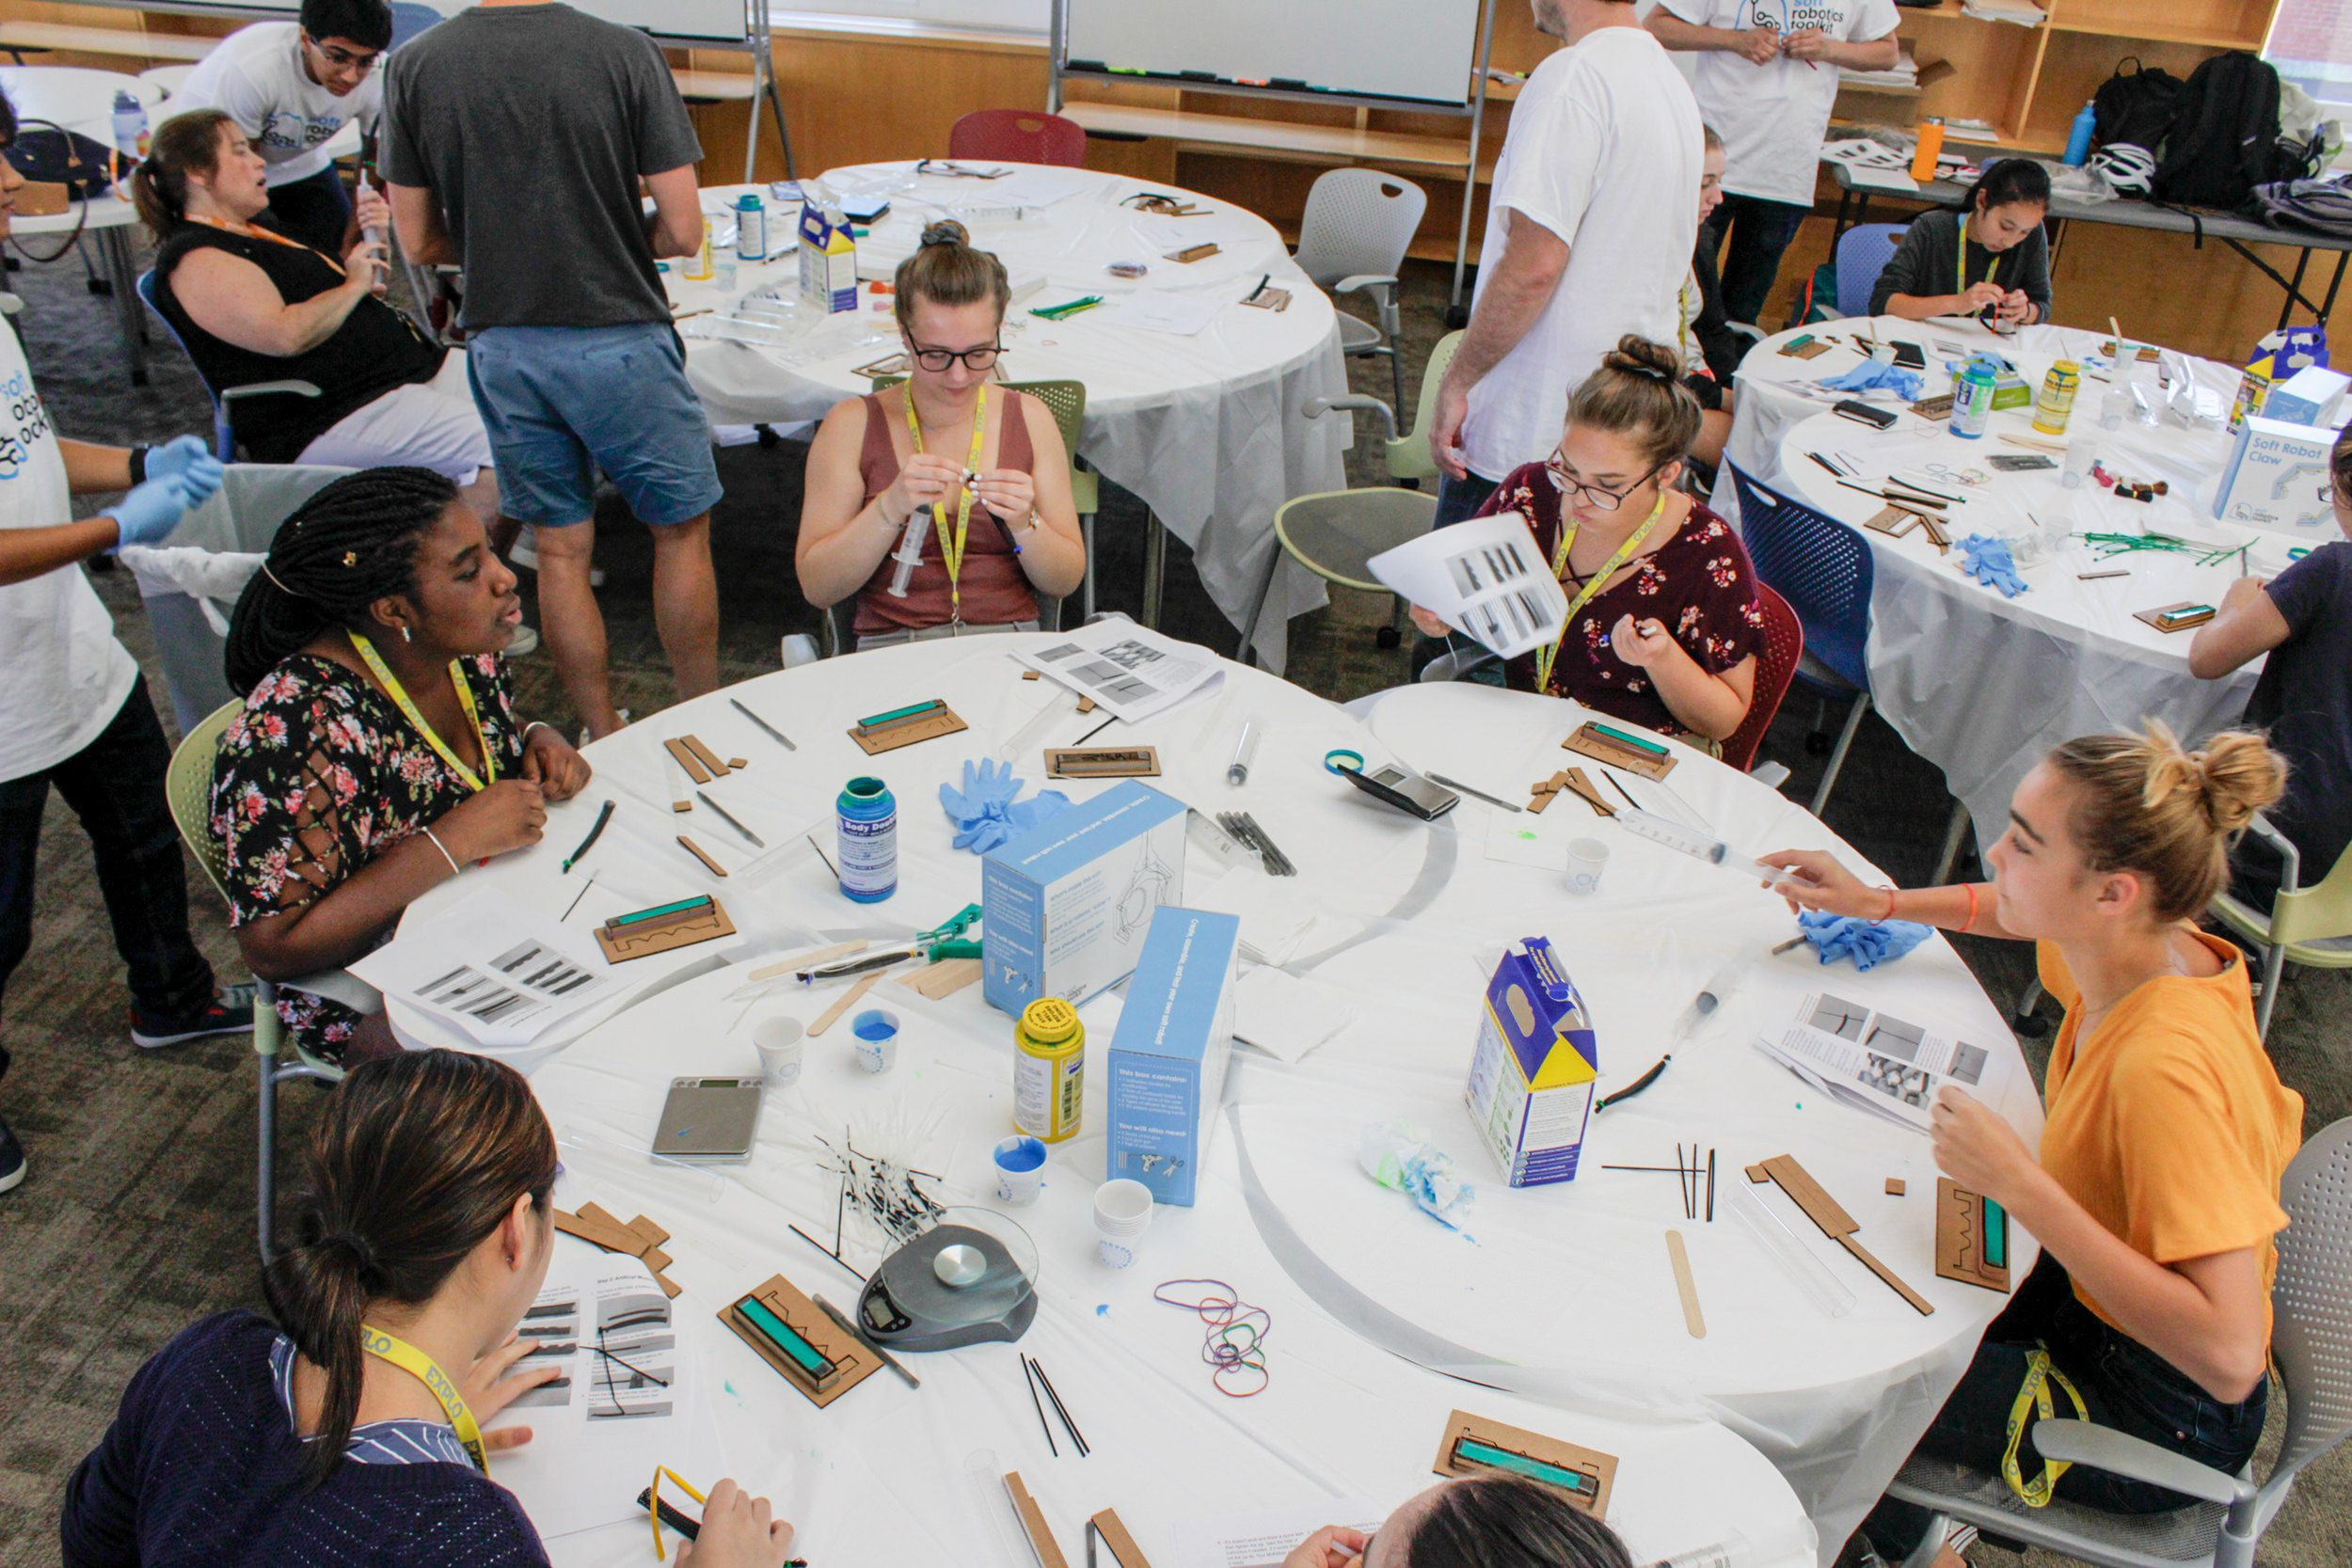
I learned a few things about the user experience of DIY toolkits:
- Make the parts fit smoothly: All parts should almost flow into each other. Even if you need a snug fit, add screws for the users to make it fit. It is better to err on the side of loose fit than a too tight fit. The too tight fit will stop users from assembling the kit in the first place.
- Add 20% margin on screw holes for 3D printing: Most 3D printers are notoriously bad with hollow circles. This leads to holes almost always being smaller than the expected diameter in the design files. So, if you need holes, especially small holes like M2, M3 then add at least 20% extra diameter. Otherwise, students will often get stuck rotating a screw that is going nowhere because they are not going to push the screws in too hard.
- Label the parts: For 3D printed parts, it’s extremely easy to add the part name on the part itself. This adds zero cost and makes the whole process extremely easy for the user. If not that, then paste labels on the parts. And even if that is difficult or cost intensive, add a sheet of paper with photos of every part. And some indicators about how to distinguish between similar looking parts.
- Give an instruction manual: Having an instruction manual as part of the kit takes away the intimidating feeling from the toolkit. Best is to add a printed instruction manual. If not, then at least give a printed card with QR codes and links to the right set of instructions for a user to be able to familiarize themselves with the kit.
What ThinkRobotics could fix
The learnings above apply to ThinkRobotics with one caveat: they’re not the kit’s designer, just the printer and shipper. That gives them more leverage on QA — they control the print loop. Three concrete things would change the buyer experience:
- Calibrate the printer to the design: Print test geometries (holes, slots, columns), measure deviation, adjust source files until parts fit on first try. One-time cost per printer.
- Add 5–20% margin on small holes (M2, M3) by default: The screw is the lock, not the plastic.
- Ship one printed page with the kit: A postcard with a QR code, a parts photo, and a one-line warning about ID assignment before assembly would prevent most of the gotchas above.
A fourth, optional but high-value: record your own assembly video. It doubles as marketing and customer support.
What buyers should prepare for
If you’re ordering any robotics kit without prior 3D-printing or hardware experience:
- Budget extra time: Plan for at least one frustrating session of shaving and prying.
- Have basic tools on hand: Flathead screwdriver, Allen key set, Phillips screwdriver. If you’ve never used these in a real workshop, an afternoon at a makerspace or woodworking class is worth more than another tutorial video.
- Assume some parts will crack: Three of mine did. You’ll still finish.
Zooming out
Open-source robotics is at the stage where the components exist but the experience around them doesn’t. The motors work, the design files compile, the policies are downloadable — but the connective tissue (QA, labelling, instructions, fit-and-finish) is missing across the stack. Someone has to finish that work. Until they do, the field stays gated to people who already know what they’re doing.
Anyway, the good news is that my arms are assembled. Next, ACT (Action Chunking with Transformers) and SmolVLA.
Appendix
For those wanting to assemble the arms themselves:
- HuggingFace assembly instructions: https://huggingface.co/docs/lerobot/so101
- Remember to assign motor IDs before starting the assembly of the bots
- Motors list and ID list for Follower and Leader arms
Follower — uniform, all C018, 12V supply
| Joint | ID | Label | Motor |
|---|---|---|---|
| shoulder_pan | 1 | F1 | C018 |
| shoulder_lift | 2 | F2 | C018 |
| elbow_flex | 3 | F3 | C018 |
| wrist_flex | 4 | F4 | C018 |
| wrist_roll | 5 | F5 | C018 |
| gripper | 6 | F6 | C018 |
Leader — mixed variants, 7.4V supply
| Joint | ID | Label | Motor | Gear ratio |
|---|---|---|---|---|
| shoulder_pan | 1 | L1 | C044 | 1/191 |
| shoulder_lift | 2 | L2 | C001 | 1/345 |
| elbow_flex | 3 | L3 | C044 | 1/191 |
| wrist_flex | 4 | L4 | C046 | 1/147 |
| wrist_roll | 5 | L5 | C046 | 1/147 |
| gripper | 6 | L6 | C046 | 1/147 |
— Ankur Goel
I am brewing a few experiments. I might do some interesting things soon. You can reach me at:
You can check out other blogs I wrote at:
Pi0.7: utilizing bad data to teach good things
When AI hallucinates what it sees: notes from a robotics sim
Building a personal automation system on the graveyard of past attempts